Options Page
Introduced in ACF PRO 6.2, the Options Pages UI simplifies the process of creating new, customized admin and sub-admin pages to edit ACF fields.
All data saved on an options page is global and saved in the wp_options table, rather than attached to a particular post or page. This allows the data to be displayed on any page throughout the website, making it a great option for header and footer data.
To access the Option Pages UI in ACF PRO, hover over or click on ACF in the WordPress admin, and then select Option Pages. The new options page can be linked to an existing field group, or you can create a brand new field group on the fly without breaking your workflow.
You can see a breakdown of the process in the video below.
Options Pages are Global
ACF field groups should not be shared across multiple options pages, unless you intend to also share the field group’s values. Entering data into a field mapped to more than one options page will load that value across all option pages to which it is mapped.
Please note that this behavior only applies to field groups used on options pages. All data from option pages is saved in the same location, the wp_options table. This limitation does not apply to ACF field groups used on posts/pages.
One way around this is to create a different field group for each option page, making sure to assign each field a different name.
Alternatively, you can set custom data storage for one of the options pages, ensuring it will only display values from that source. Click the Permissions tab under “Advanced Settings” in the Options Pages UI, and then click on the dropdown under “Data Storage”. Select Custom Storage and then enter a different string to be used as the option_name prefix in the wp_options table, i.e., options2.
Screenshots
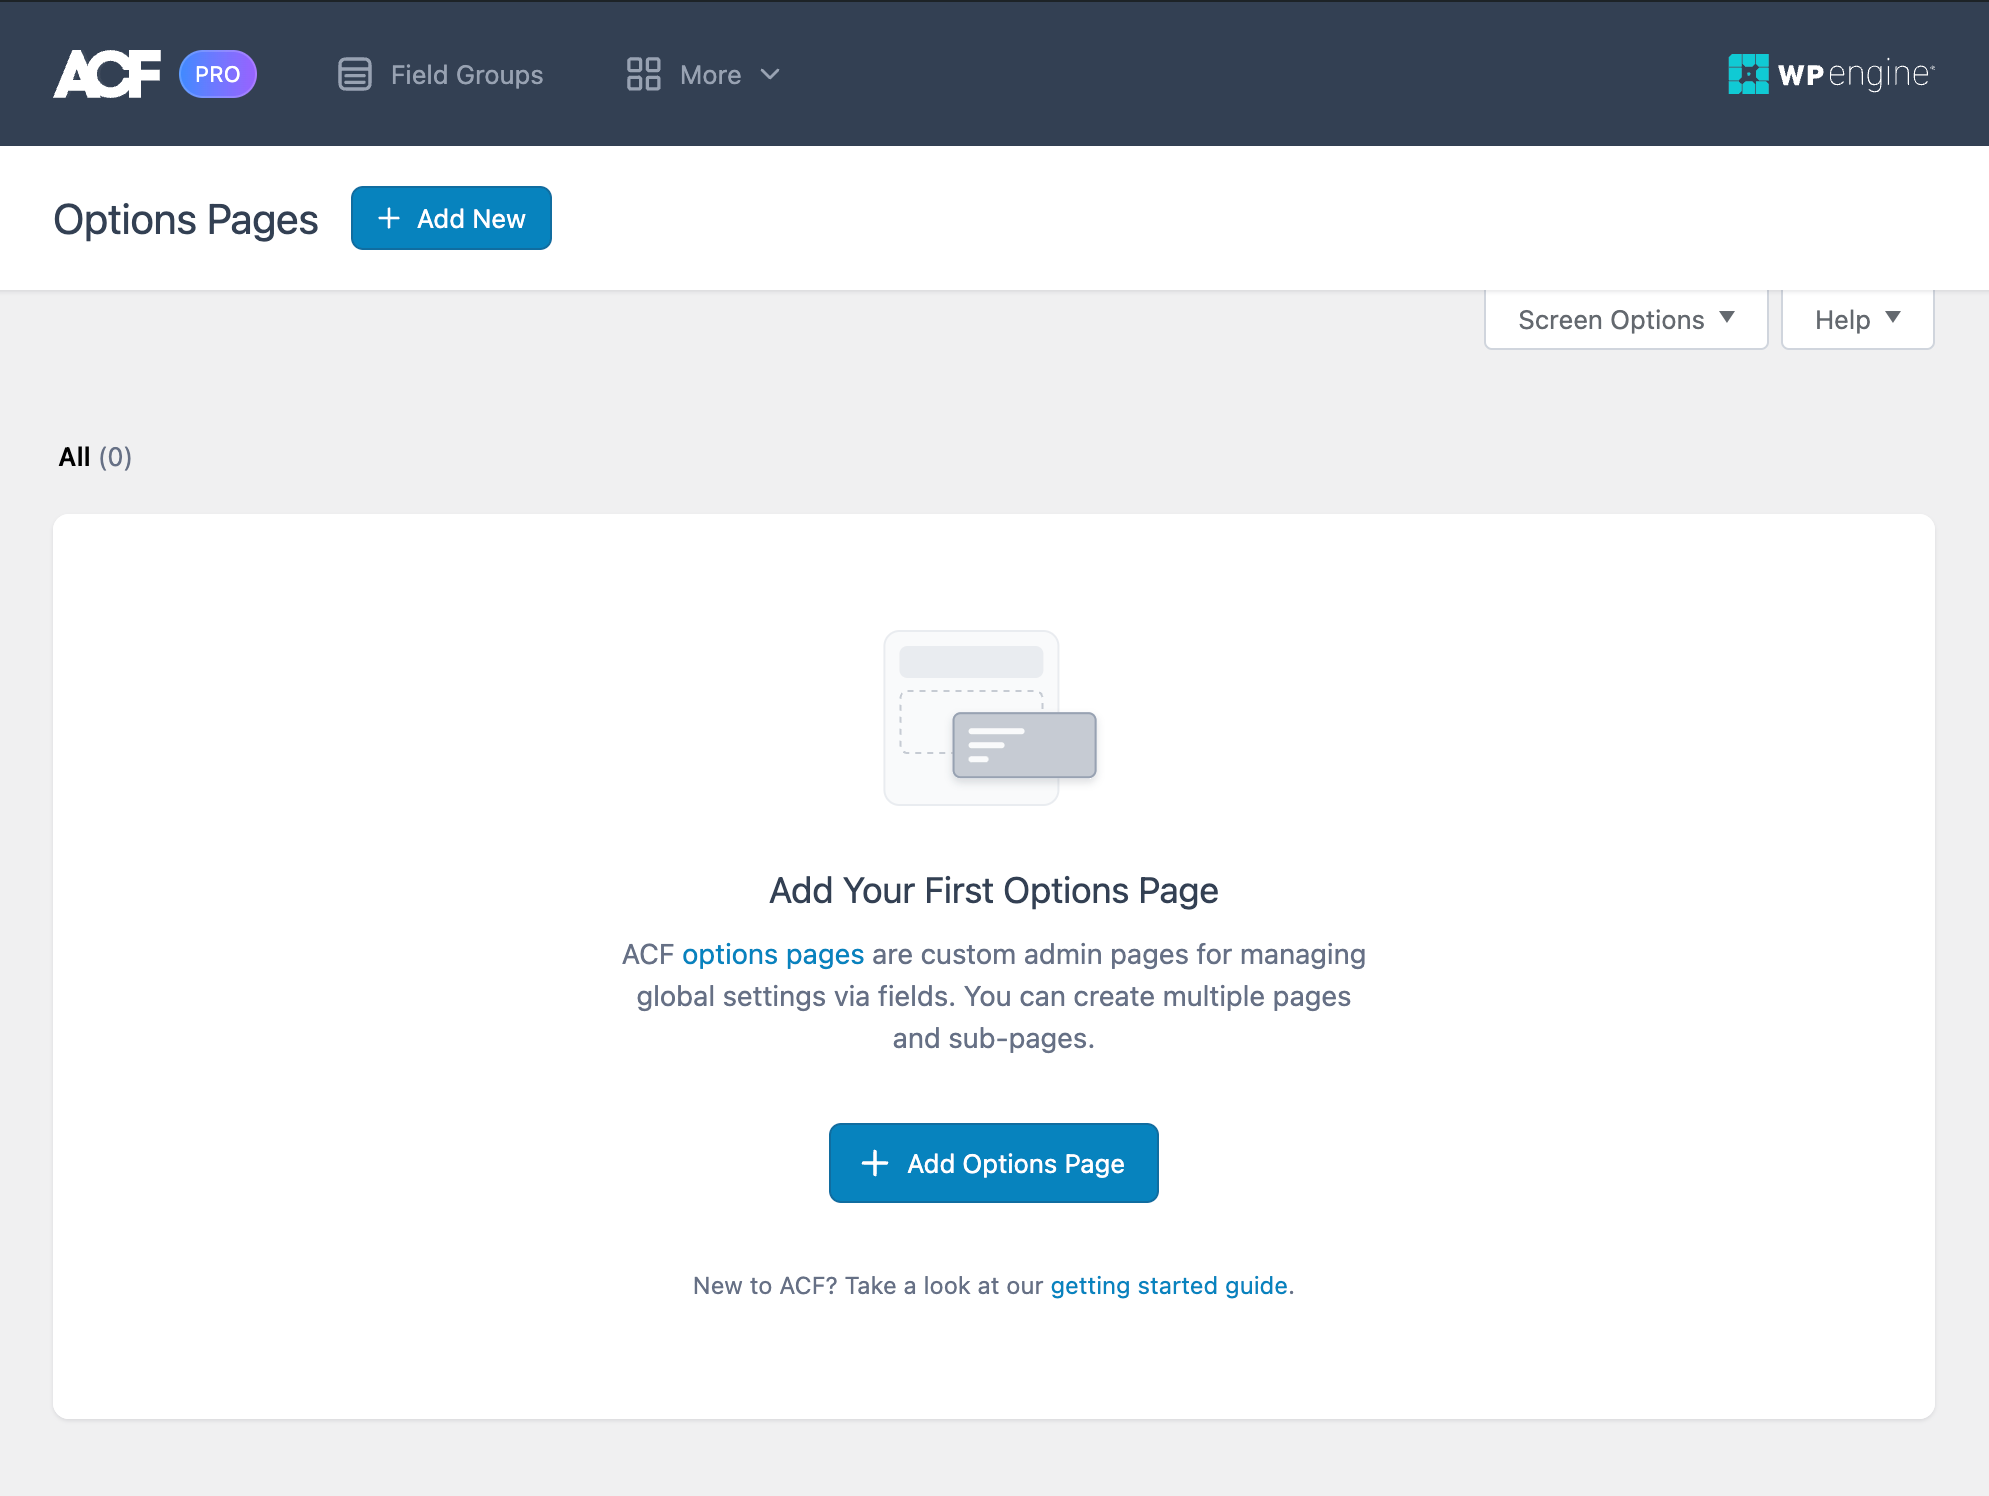
The ACF Options Pages UI.
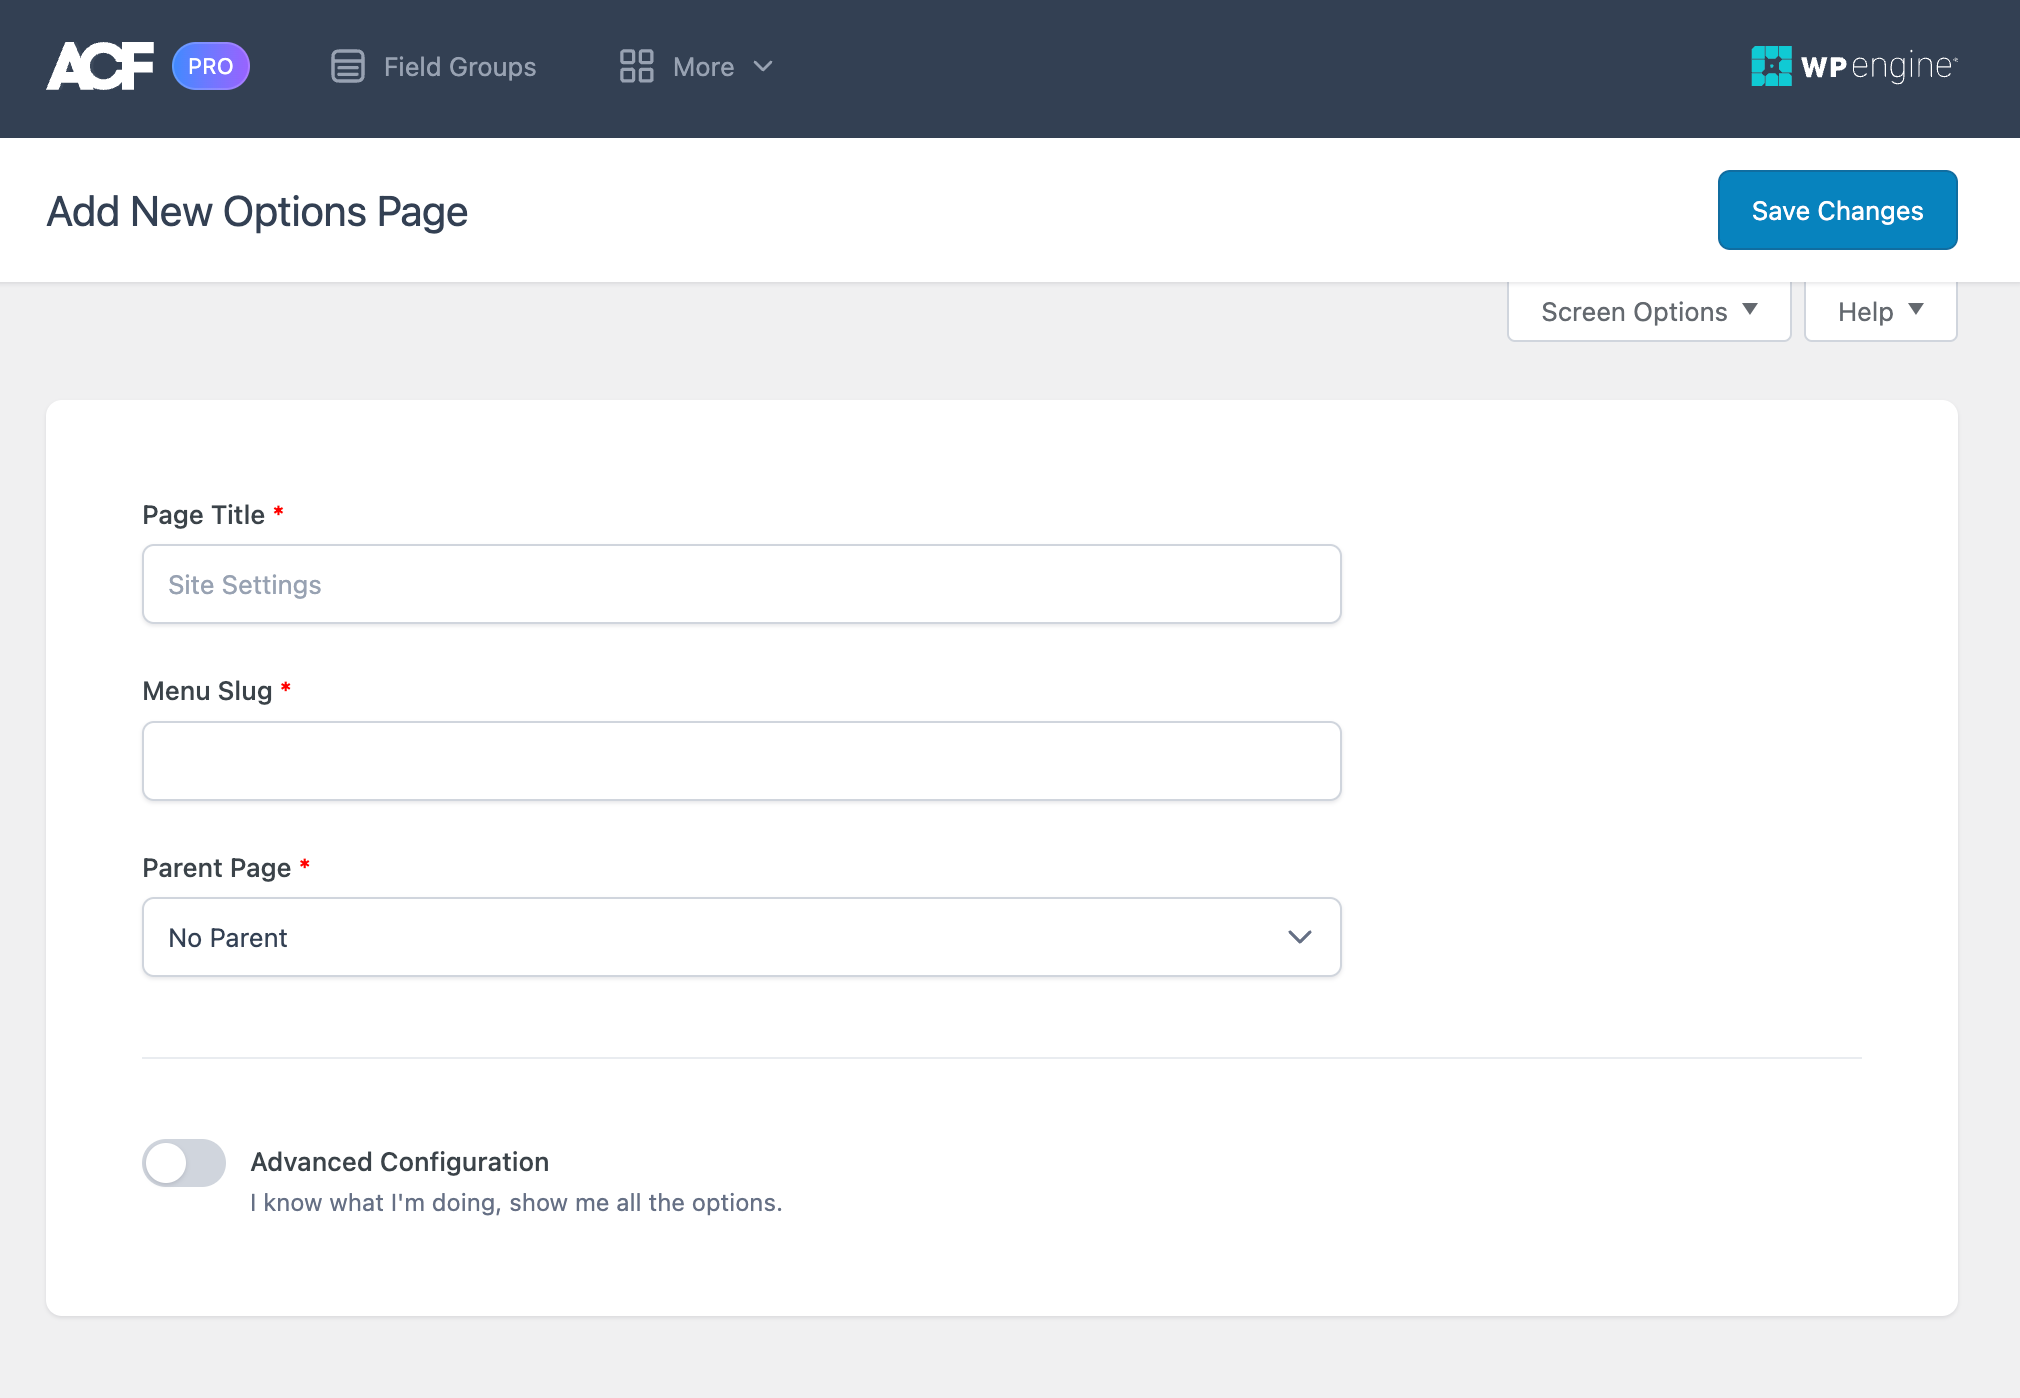
Creating a new options page in the UI.
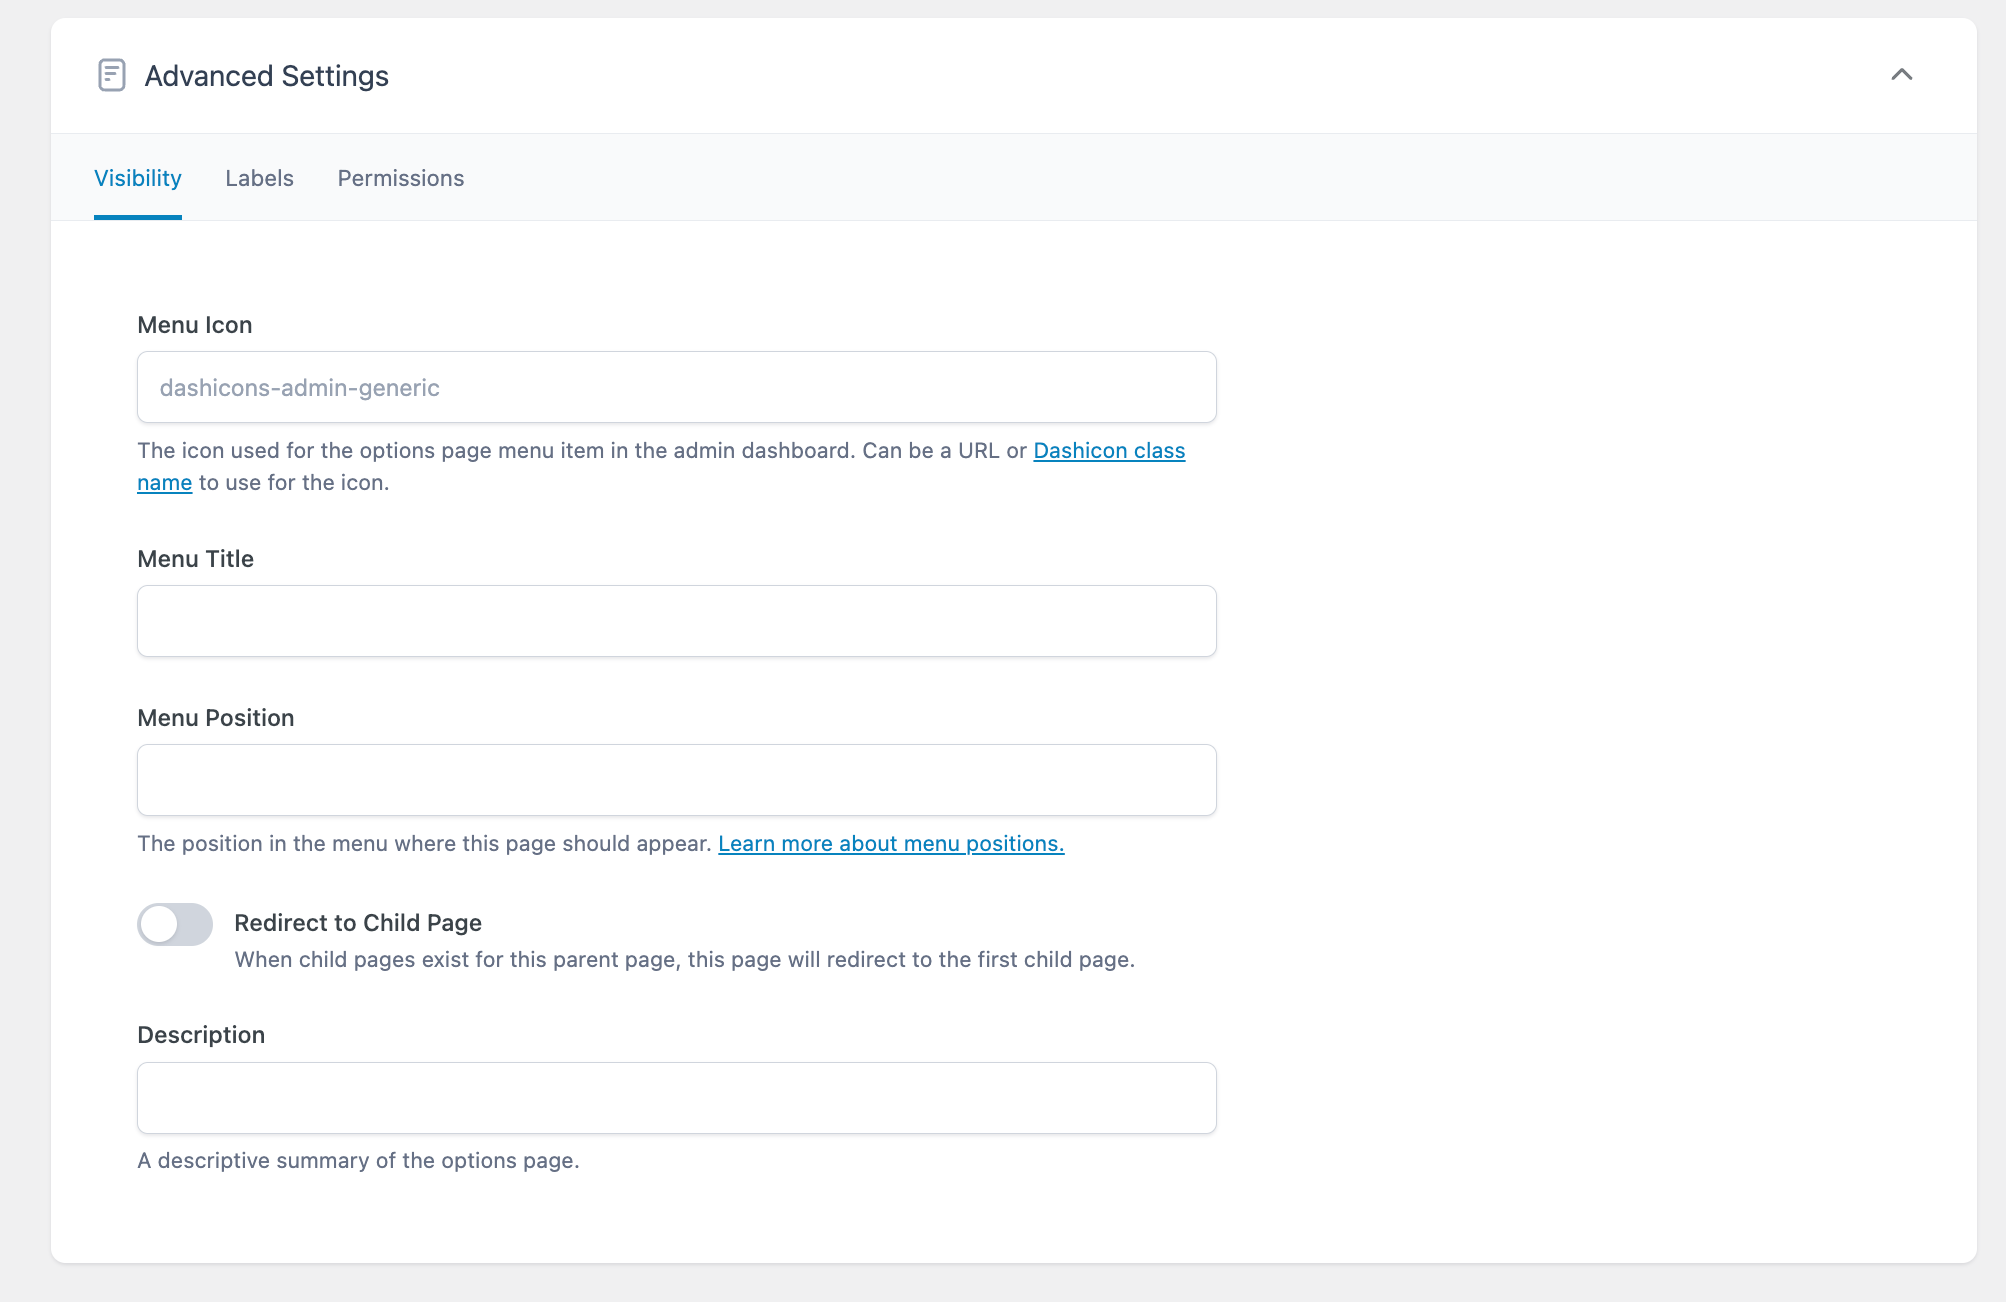
The Visibility tab in Advanced Settings.
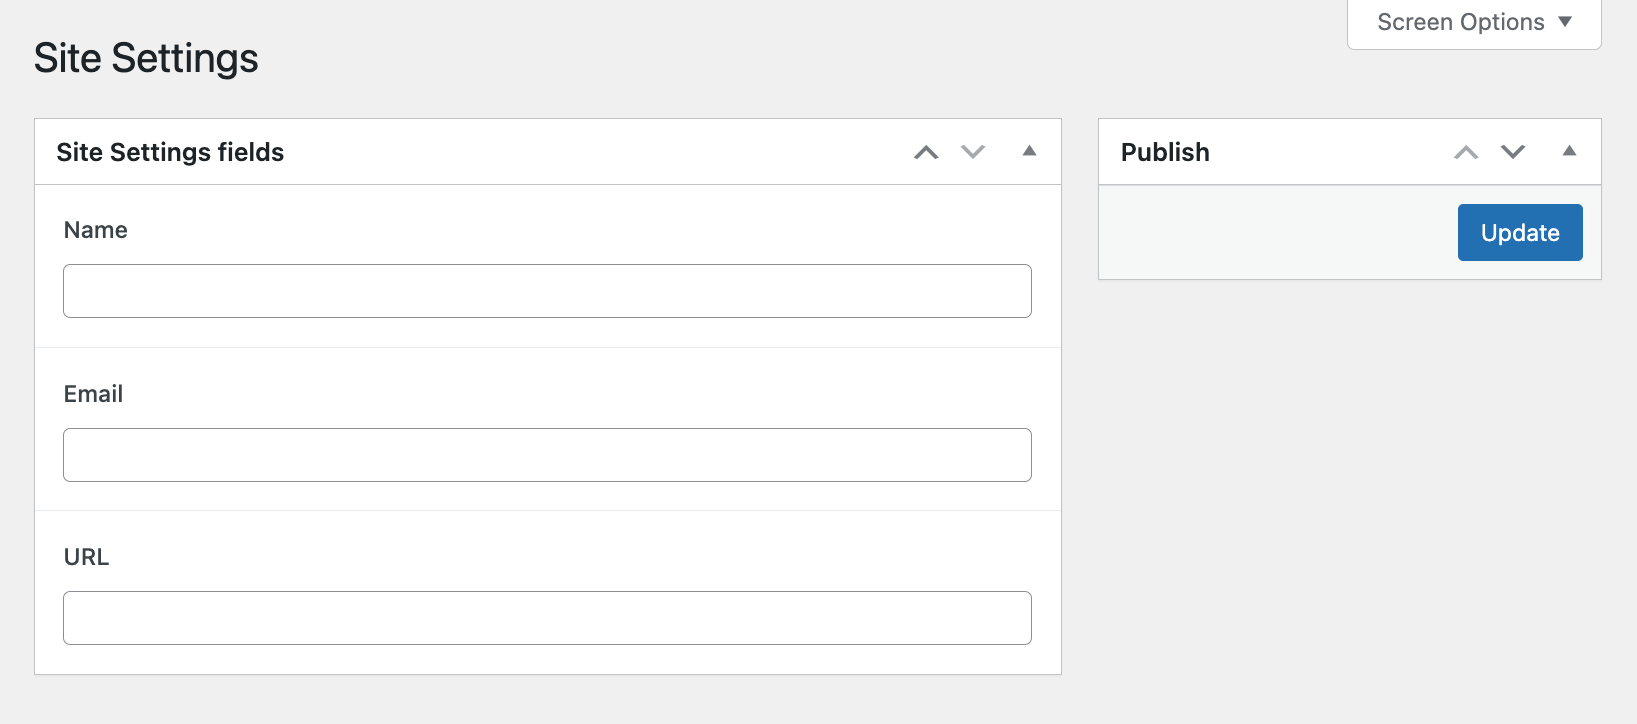
How a simple “Site Settings” options page might appear to users.
Template Usage
All the API functions can be used with the options page’s fields. However, a second parameter is required to target the options page. This is similar to passing through a $post_id to target a specific post object. This example demonstrates how to load a value from an options page.
<?php the_field('header_title', 'option'); ?>
Continue reading: Get values from an options page
Settings
Here are all of the settings you can configure through the UI:
- Page Title
The title of the options page. It will also be used as the name of the options page in the WordPress admin, unless this is changed under Advanced Settings. The options page cannot be saved if this field does not receive input. Defaults to “Site Settings.” - Menu Slug
Sets the URL for the option page. The “Menu Slug” must be present before saving the options page. Defaults to the “Page Title”, but without capitalization and with spaces replaced with hyphens. - Parent Page
A dropdown that allows you to designate the options page as the child of an existing options page. The only choice displayed will be “No Parent” until you have at least one existing options page. - Advanced Configuration
Toggling this on will give you access to the Advanced Configuration settings.
Advanced Settings
Visibility
Labels
Permissions
- Capability
Controls the WordPress capability a site user must possess to view the options page. Defaults toedit_posts. - Data Storage
Controls where the options page stores field data. Defaults to “Options”, storing the field data in the options table. Selecting “Custom Storage” instead of “Options” allows loading of field data from a post, user, or term. - Custom Storage
This setting only appears if “Custom Storage” is selected under “Data Storage.” The input can be a numeric post ID or a string. - Autoload Options
Toggling this on automatically loads the fields in the option records when WordPress loads to improve performance.
Of course, not all ACF PRO users will want to register options pages in the UI. We’ve documented how to disable this from the plugin admin here.
Registering Options Pages with Code
Basic Usage
To create an options page, open your functions.php file, and add the following code:
add_action('acf/init', function() {
  if( function_exists('acf_add_options_page') ) {

    acf_add_options_page();

  }
});
Without passing any parameters to this function, the default options page will be added to your wp-admin sidebar.
Advanced Usage
This example demonstrates how to create a customized options page with children.
add_action('acf/init', function() {
  if( function_exists('acf_add_options_page') ) {

    acf_add_options_page(array(
        'page_title'    => 'Theme General Settings',
        'menu_title'    => 'Theme Settings',
        'menu_slug'     => 'theme-general-settings',
        'capability'    => 'edit_posts',
        'redirect'      => false
    ));

    acf_add_options_sub_page(array(
        'page_title'    => 'Theme Header Settings',
        'menu_title'    => 'Header',
        'parent_slug'   => 'theme-general-settings',
    ));

    acf_add_options_sub_page(array(
        'page_title'    => 'Theme Footer Settings',
        'menu_title'    => 'Footer',
        'parent_slug'   => 'theme-general-settings',
    ));

  }
});
Notes
WordPress 6.8
Since WordPress 6.8, any function that causes ACF to initialise early such as this one will trigger an PHP notice, if you call it before the acf/init action:
Notice: Function _load_textdomain_just_in_time was called incorrectly. Translation loading for the acf domain was triggered too early. This is usually an indicator for some code in the plugin or theme running too early. Translations should be loaded at the init action or later.
To avoid this, you must make sure you don’t call any ACF functions before the acf/init action. Our code samples above show how to wrap these calls appropriately.
谢谢你的反馈!